The price for the shortest tube™ ever is some work. But once done, your compact kite will float around relaxed.
- Untubing
- Assembly
- Flight
- Folding
- Tubing
1 Untubing
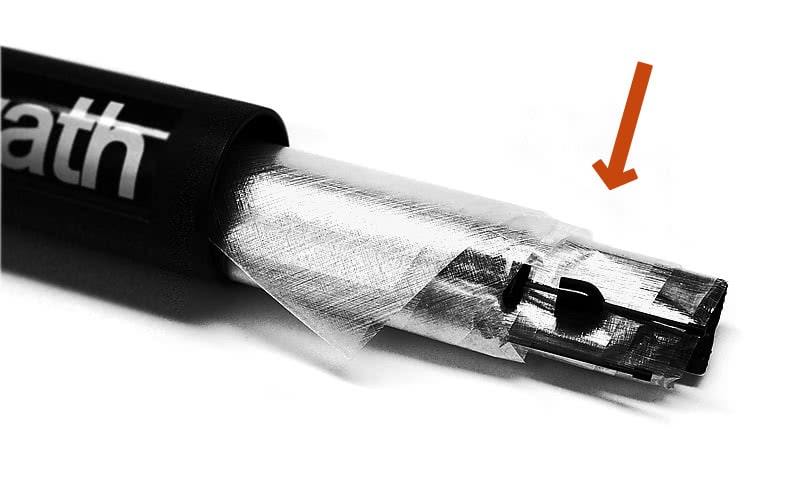
- Open the right side of the Tube.
- Take care of the two vinyl caps, which hold the 2 spreader carbon rods together.
- A short zero.4 flying line will also be there, if you have ordered one.
- Unfold the sail completely and lay it out.
2 Assembly
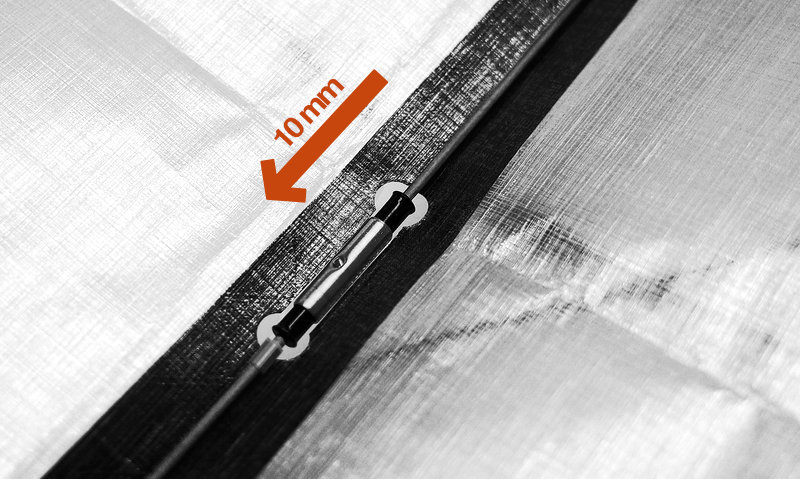
- First assemble the spine of the kite.
- The shifting coupling is on the upper part of the spine carbon rod.
- Shift the coupling over the lower spine rod down to the stopper.
- The Spine is ready now, let's continue with the wings.
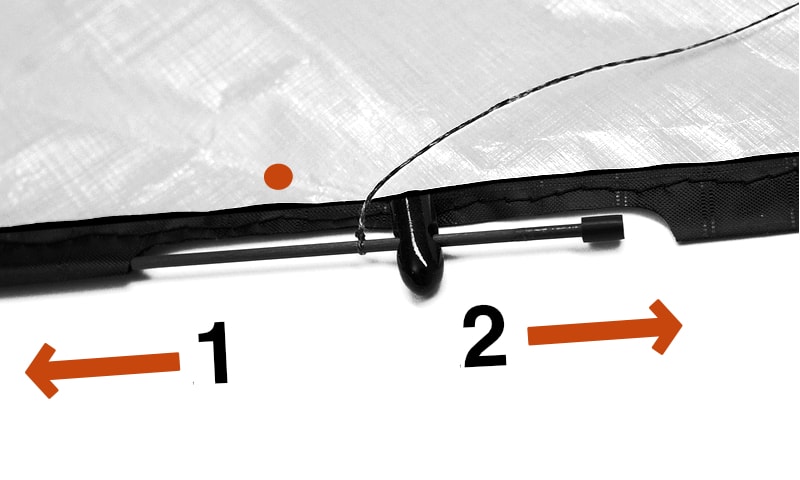
- Push the upper wing carbon rods downwards until they reach position "2".
- Now upwards, to the left in the picture, into the leading edge pockets.
- The red dot on the sail is much smaller and black on your kite.
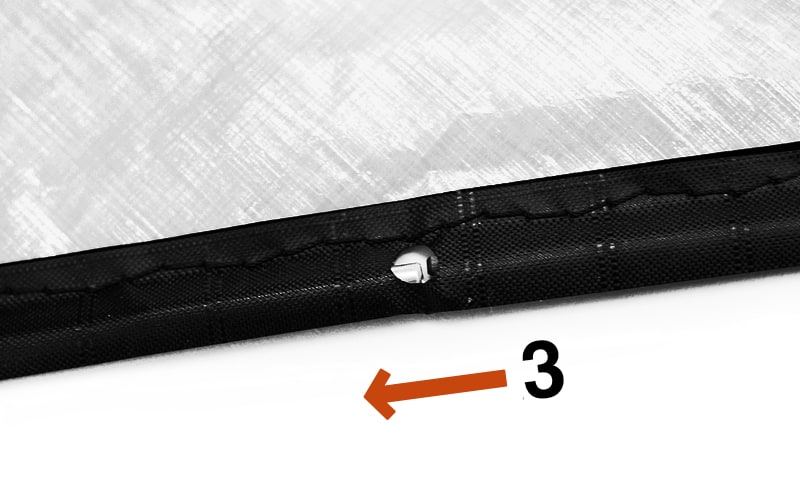
- Push the upper wing carbon rod downwards into the small aluminum coupling.
- The coupling is fixed on the lower short wing part, the insert depth is 10 mm.
- New there are generous cutouts instead of just a hole.
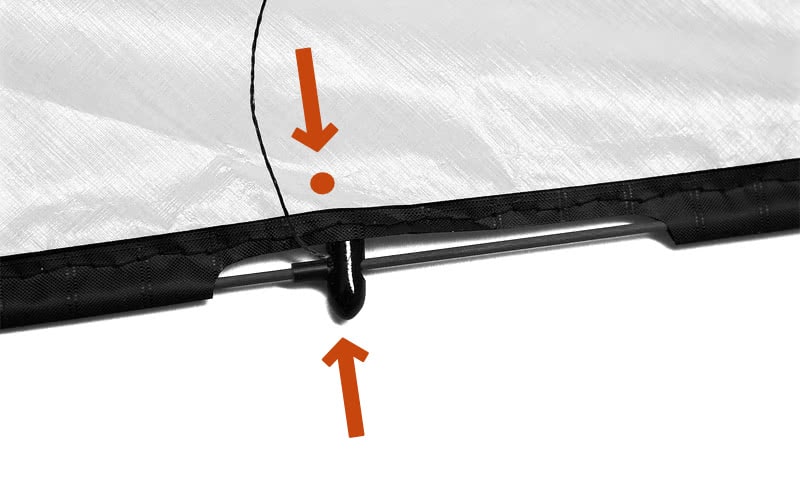
- This is the final position of of the wing structure, factory setting.
- The X-line is facing the dot on the sail perpendicular to the leading edge.
- By the way: the sail is made of Dyneema Composite Fabric, Icarex and Dacron.
- Your kite has now the state of a "non-tiny".
- It's not able to lay completely flat, because the whole thing is 3-dimensional.
- That's what the synergetic spreader will form.
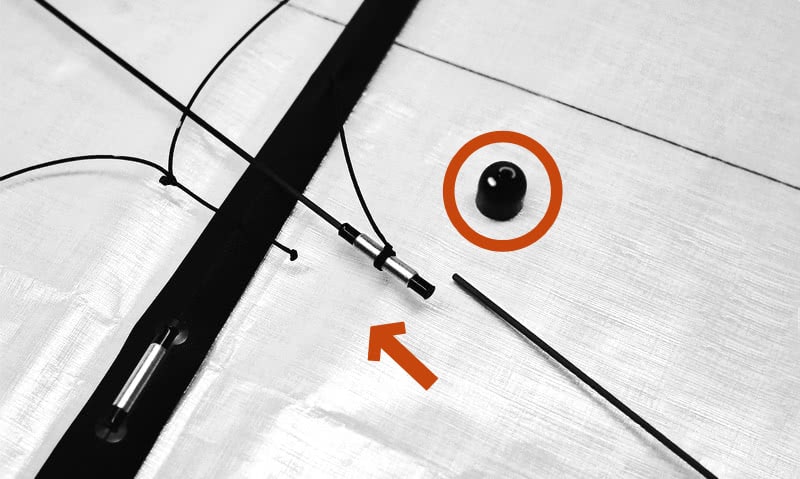
- Finally, take the 2 segments of the spreader out of the vinyl cap.
- The coupling is fixed harder to one segment, here the left one.
- Do not lose the cap, as it will hold the 2 spreader segments together when tubing.
- The two couplings are now newly made from a precisely turned piece of ABS.
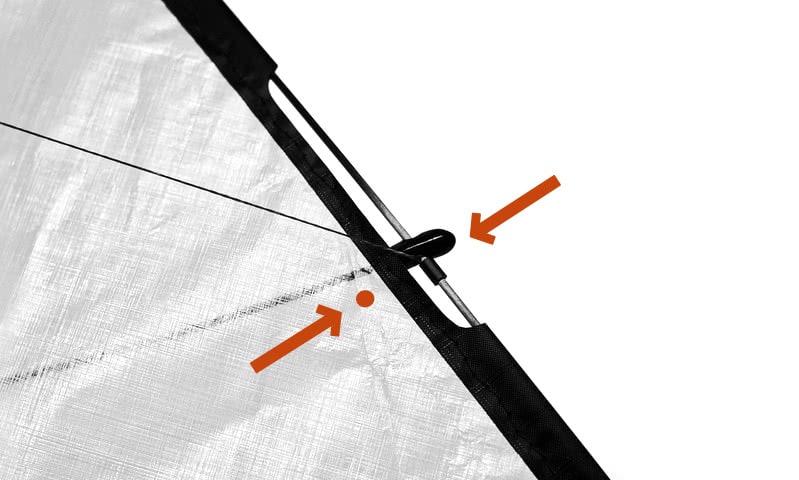
- The built up kite: back view of the connector position.
- This geometry will settle by itself.
- The spreader pushes the whole wing structure downwards, slightly.
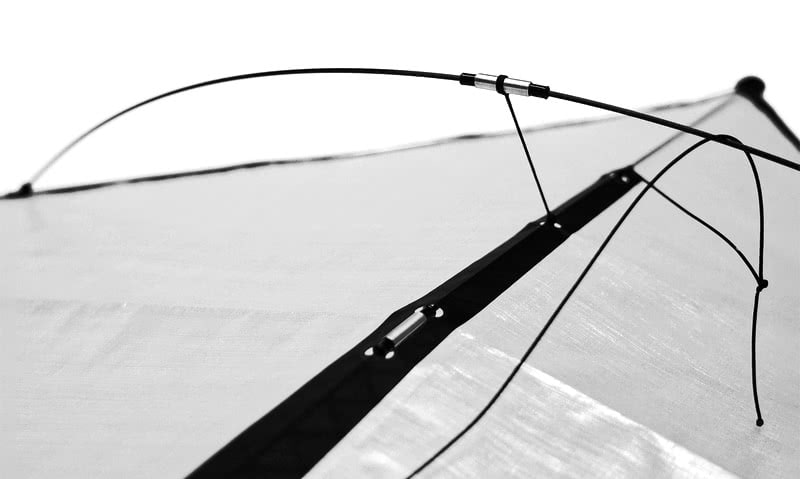
- The front side of the Ibb tiny 300 looks like this.
- By the z-line, the spine is pulled into a slightly convex bowed geometry.
- The wings are pushed apart elastically by the spreader.
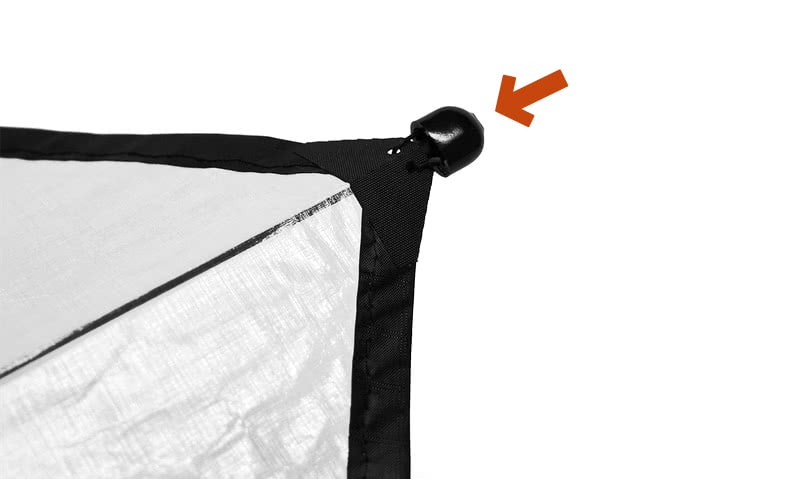
- One of the additional caps, which is used to hold the 2 spreader segments together while in the Tube.
- Put one or both onto the nose of the kite for flights in generous space.
- Remove them for agile floating in confined space.
- The smallest cap always stays on the nose plastic part, it fixes the nose tensioning line.
3 Flight
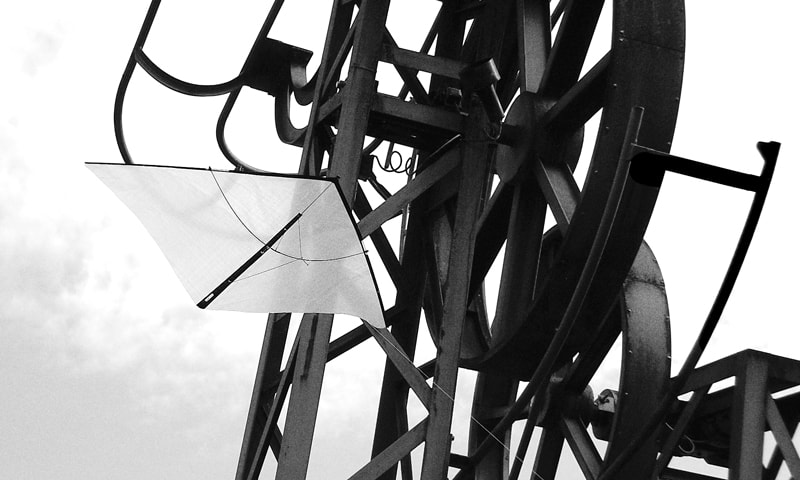
- The Ibb tiny 300 flies exactly like the standard size Flow or Rhythm Edition.
- If you like to know more about flight and setup, check the user manual for zero wind kites or some of our videos.
- When it's time to go back to the hotel, there are two options: Just fold the kite as any other and stick it into the tube nose forward, this takes a few seconds.
- Or fold it down completely for storing it in the 300 mm Tube. While a storm is arising, this act is more convenient in the hotel.
4 make it tiny
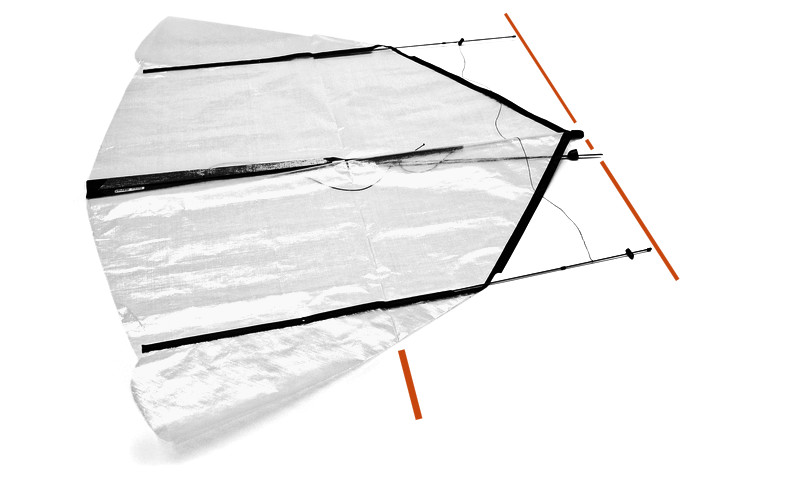
- The spreader is in its 2 halves again and they are hold together securely by the nose cap.
- The wing carbon rods are moved down through the leading edge slots and then up to the position shown here.
- Any hard component, here the rods, will need to be parallel to the spine all the time.
- You may also take out the 2 upper wing rods completely, while the short wingtip-rods still need to be parallel.
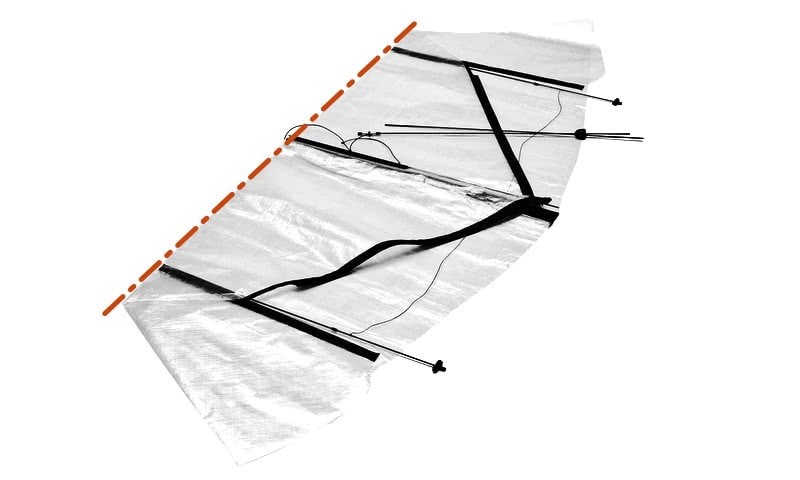
- Shift the spine coupling up, until the lower part of the spine is free.
- Now, you can fold the whole sail to the half length.
- Some users prefer to completely remove the leading edges out of the kite, but leave the short rods rather in the wingtips.
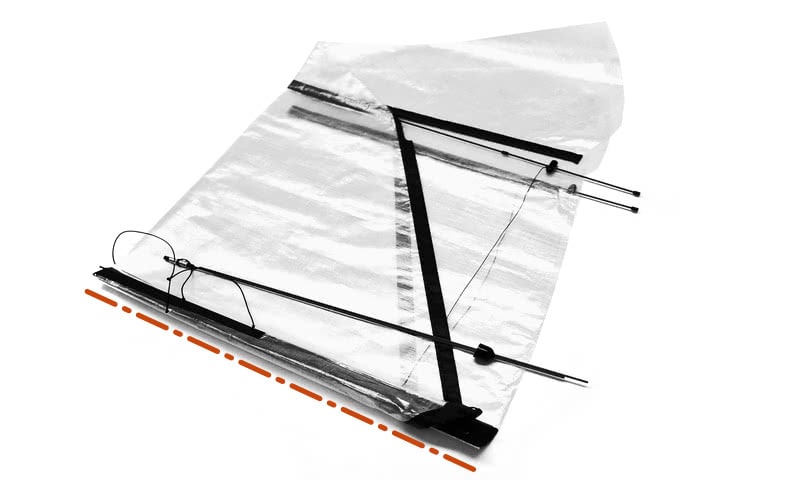
- Fold the whole sail to the half width, now ready for rolling.
- The reference length is the spine area.
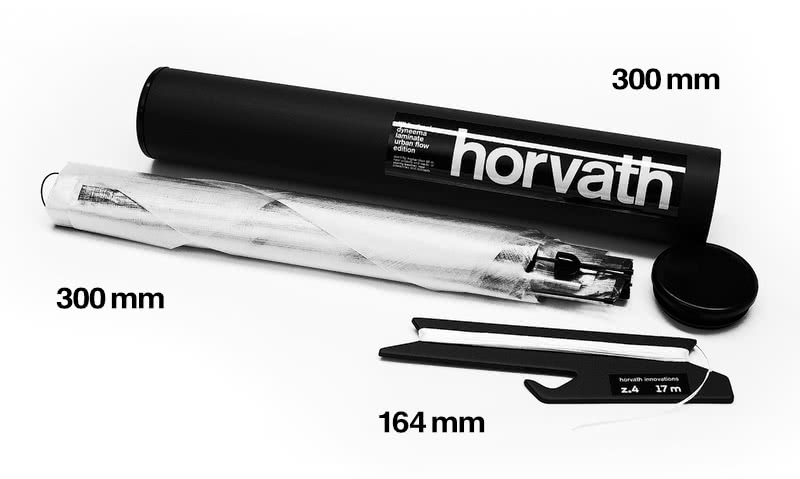
- The kite is rolled quite loosely, that's sufficient for the ø 50 mm tube.
- Your complete urban zero wind kite gear is now ready for tubing.
5 tubing
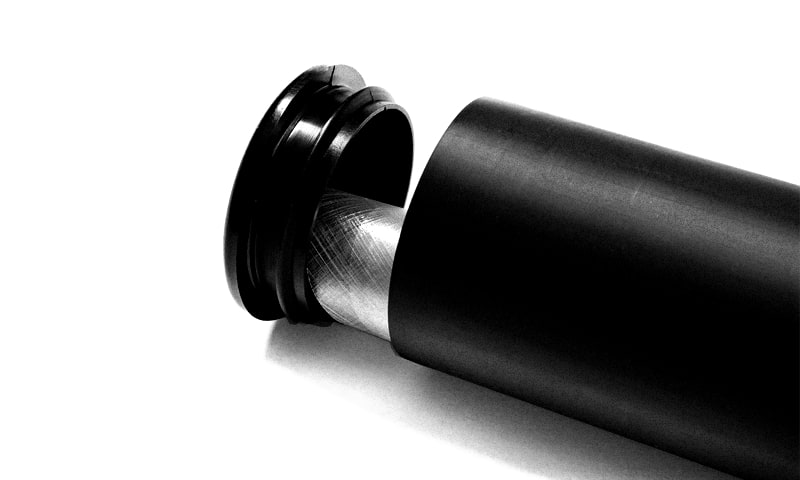
- I like to store the Ibb tiny 300 kite, as any others, from the left side into the Tube.
- While the Tube cap is holding the kite together, close it.
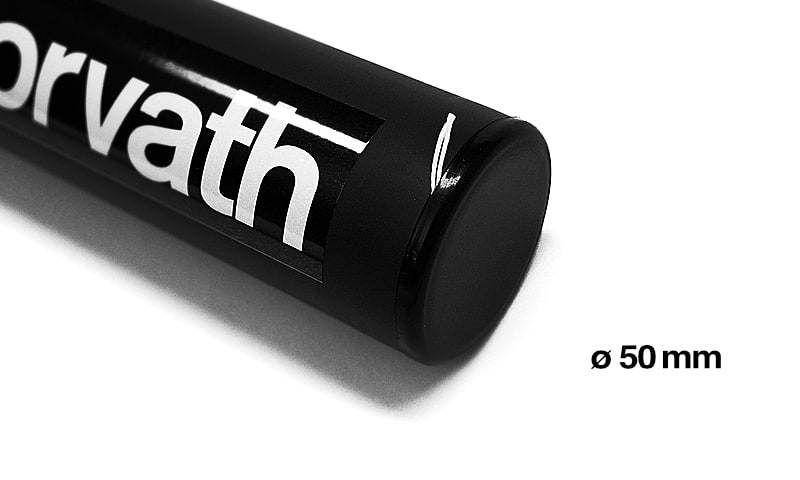
- Close the Tube on the right side.
- If you store a 17 m zero.4 or zero.5 line with the kite, you may want it to be visible.
- That's the minimal, yet complete urban floating equipment.
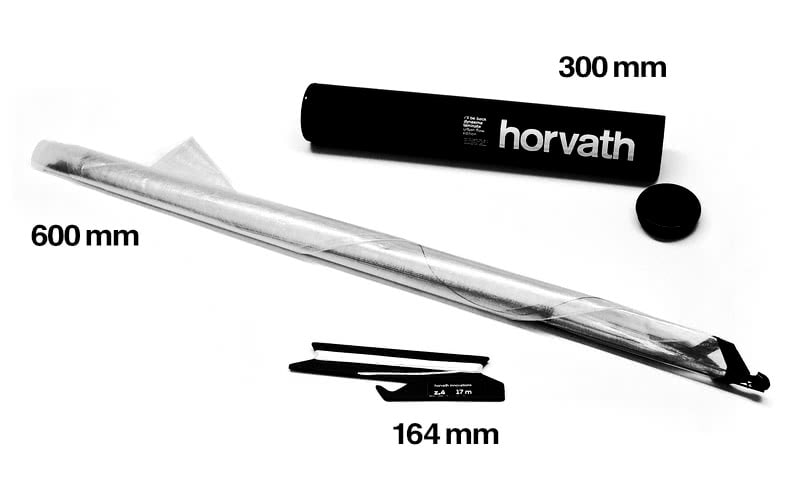
- Sometimes I just keep the spine, the wings and the spreader as they are, and store the kite nose-forward in the tube.
- That's when I'm heading back to the hotel in a rush or when the kite is wet and needs to be layed out during the night anyway.
Enjoy your marvelous flight…